Tips and cases of use for a successful WordPress website with calculated forms.
Categories: Add-ons, Automation, API & Services Integration
The easiest way to access to hundred of services through a simple URL. Case of use: Integrating the form with Google Sheets using Zapier as connector service.
The Developer and Platinum versions of the "Calculated Fields Form" plugin include multiple add-ons to extend the plugin's functionalities, allowing the integration with other plugins or web services. The WebHook add on is one of them.
The WebHook add on sends the information collected by the form to a WebHook URL as a JSON serialized object.
For example, activating the WebHook add-on it is possible to integrate the forms with connector services like Zapier, MicroSoft Flow or IFTTT, and these connector services in turn allow the connection with hundred of other services, like Google Sheets, MailChimp, HubSpot, DropBox, Salesforce and many others.
I'll describe a possible case of use: To send the result of a calculated field in the form to a Google Sheets document using Zapier as the connector (or intermediary) service.
Requirements: At least the Developer version of the "Calculated Fields Form" plugin, an account in the Zapier service (https://www.zapier.com) and a Google Sheets document.
First step, activate the WebHook add on from the settings page of the plugin. For this, go to the settings page through the menu option: "Settings > Calculated Fields Form", tick the checkbox: "CFF - WebHook", and then press the "Activate/Deactivate addons" button.
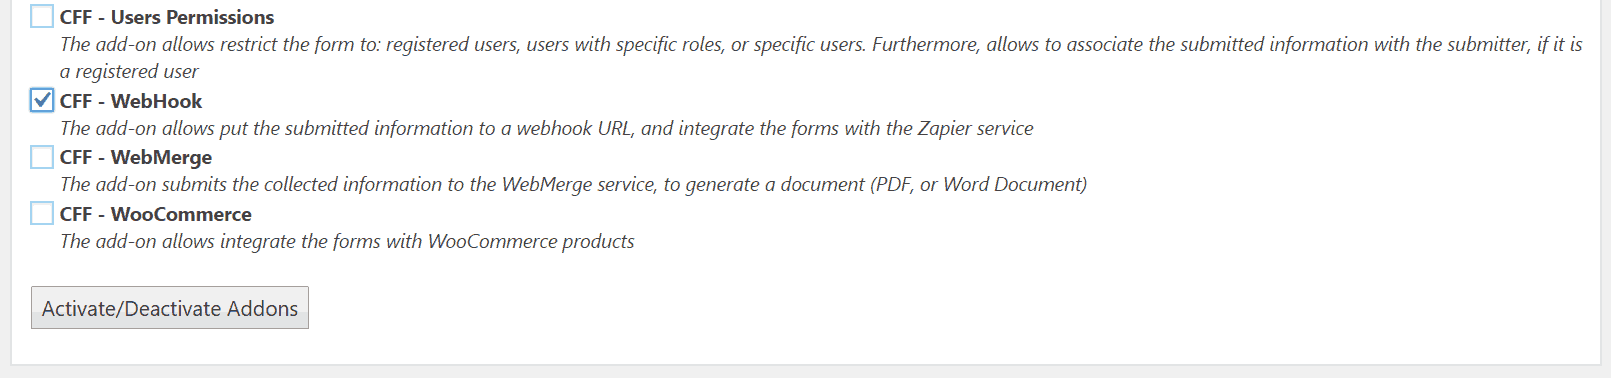
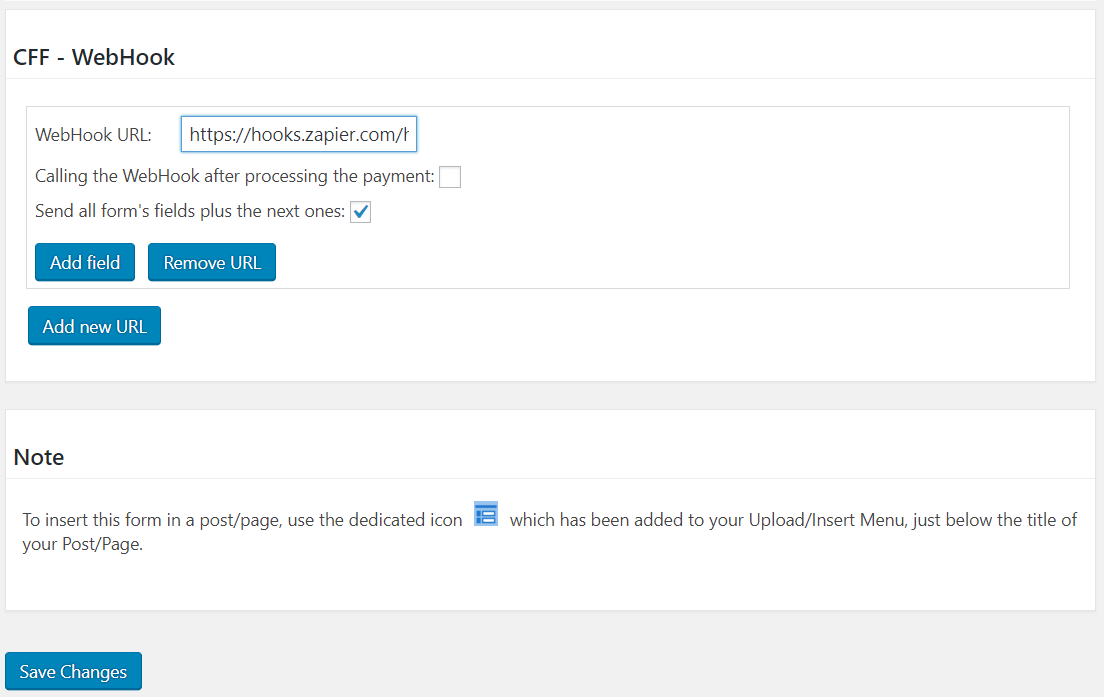
After activate the add-on will be available a new section in the forms' settings for entering the WebHook URL, and configure the fields to send to this URL.
Note: It is possible associate multiple WebHooks URL to a same form, you only should press the "Add URL" button as many times as URLs you want to associate to the form.

Now it is time to create the webhook in Zapier.
Login in Zapier and select the template:Add info to a Google Sheets from new Webhook POSTs
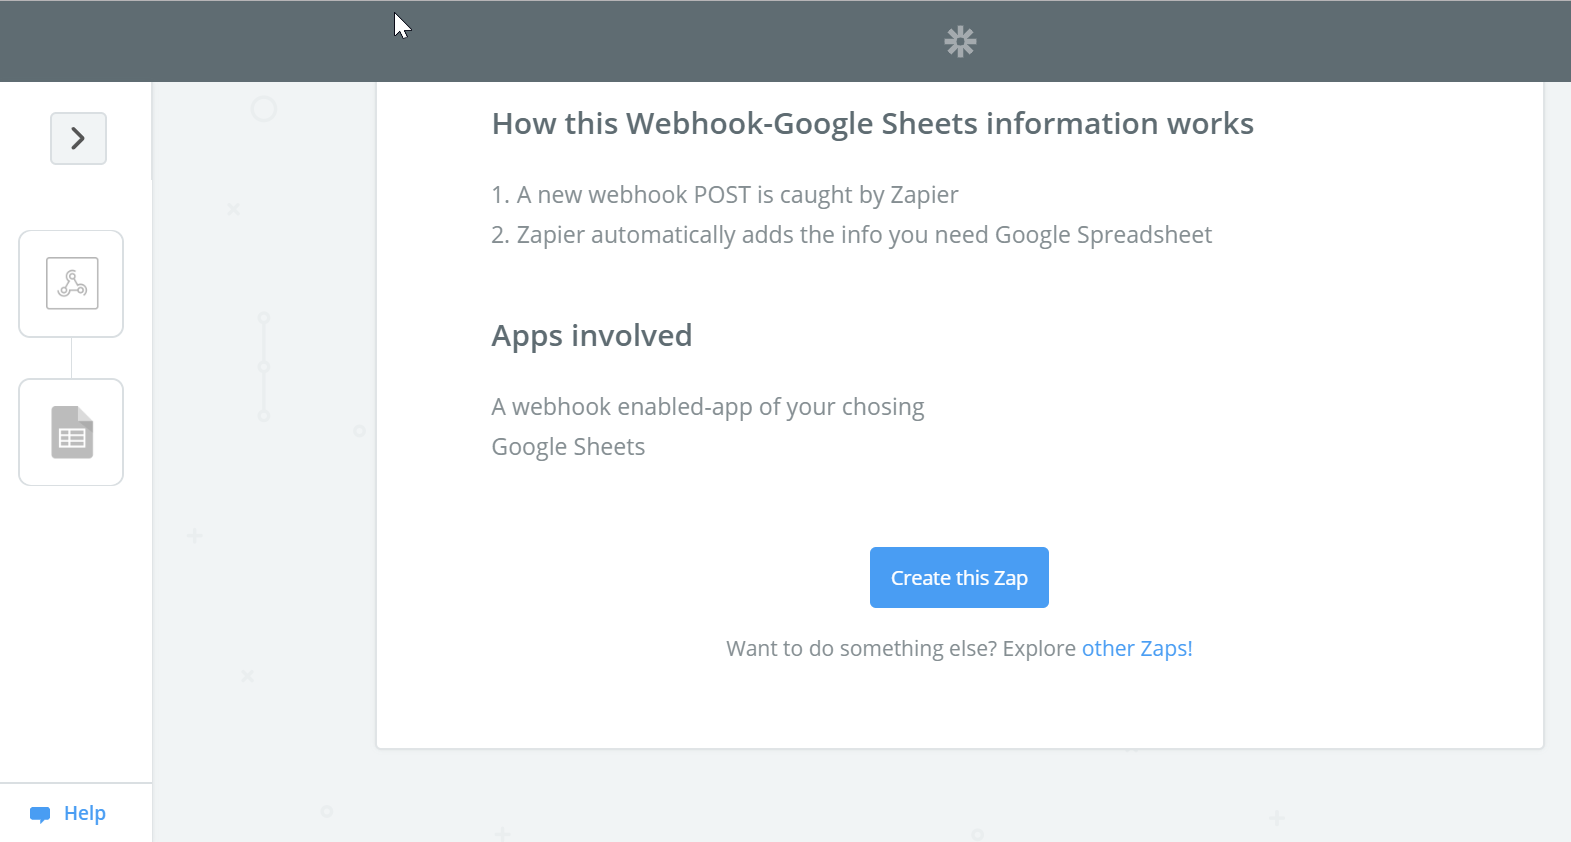
Press the "Create this Zap" button.
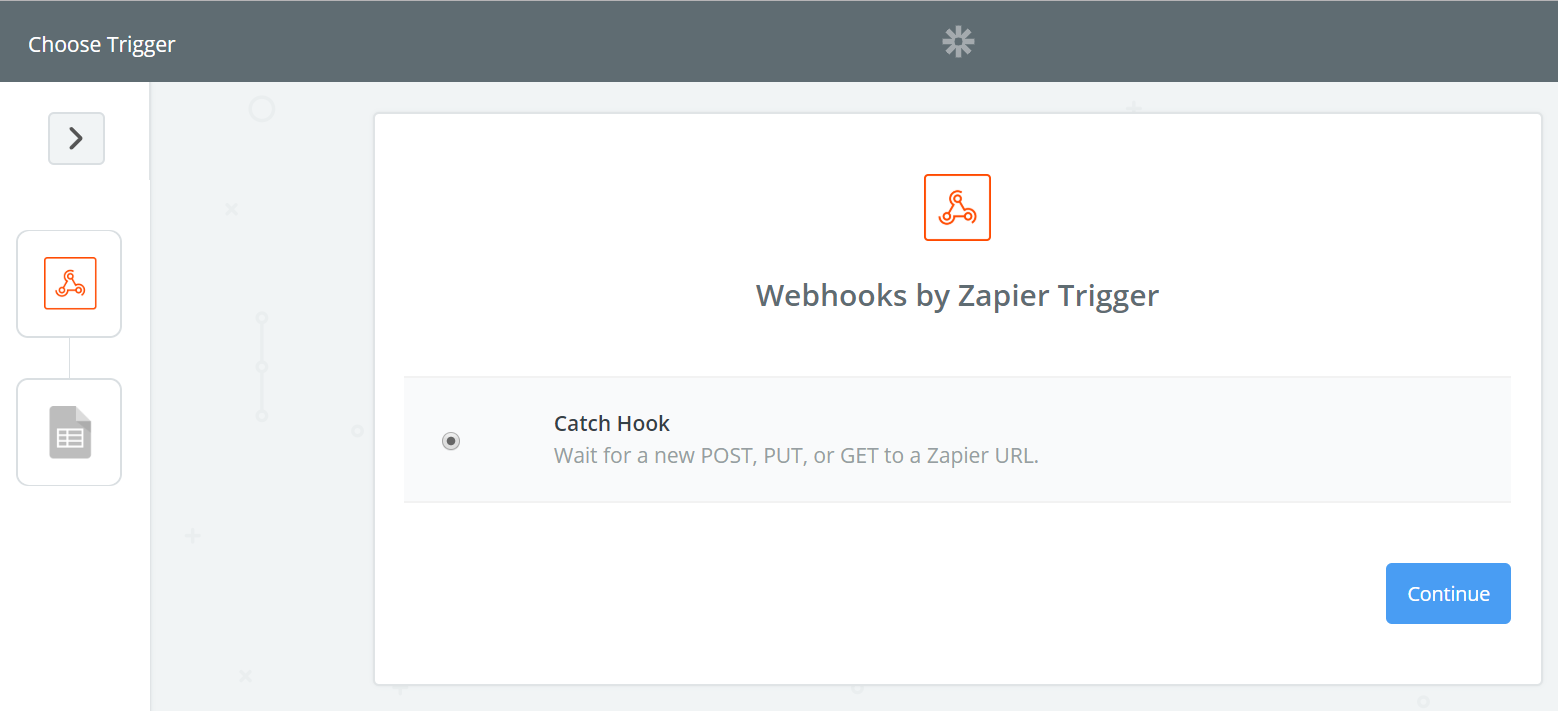
Press the "Continue" button.
Press the "Continue" button.

Copy the WebHook URL generated by Zapier, pressing the "Copy" button, and then press the "Ok, I did this" button.
Now paste the copied URL into the "WebHook URL" attribute in the Form's settings, and press the "Save Changes" button.
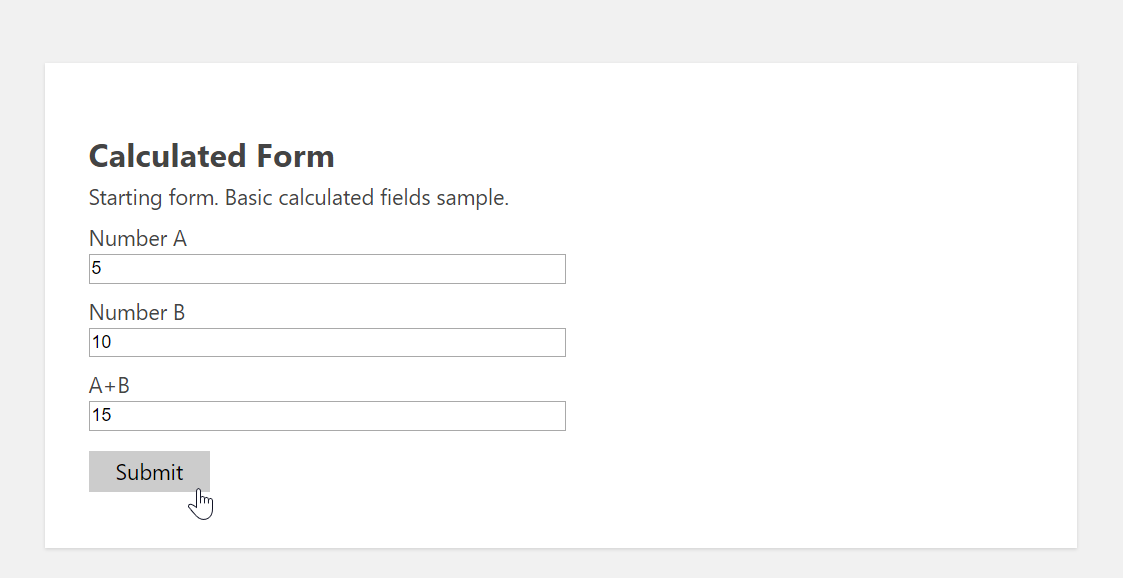
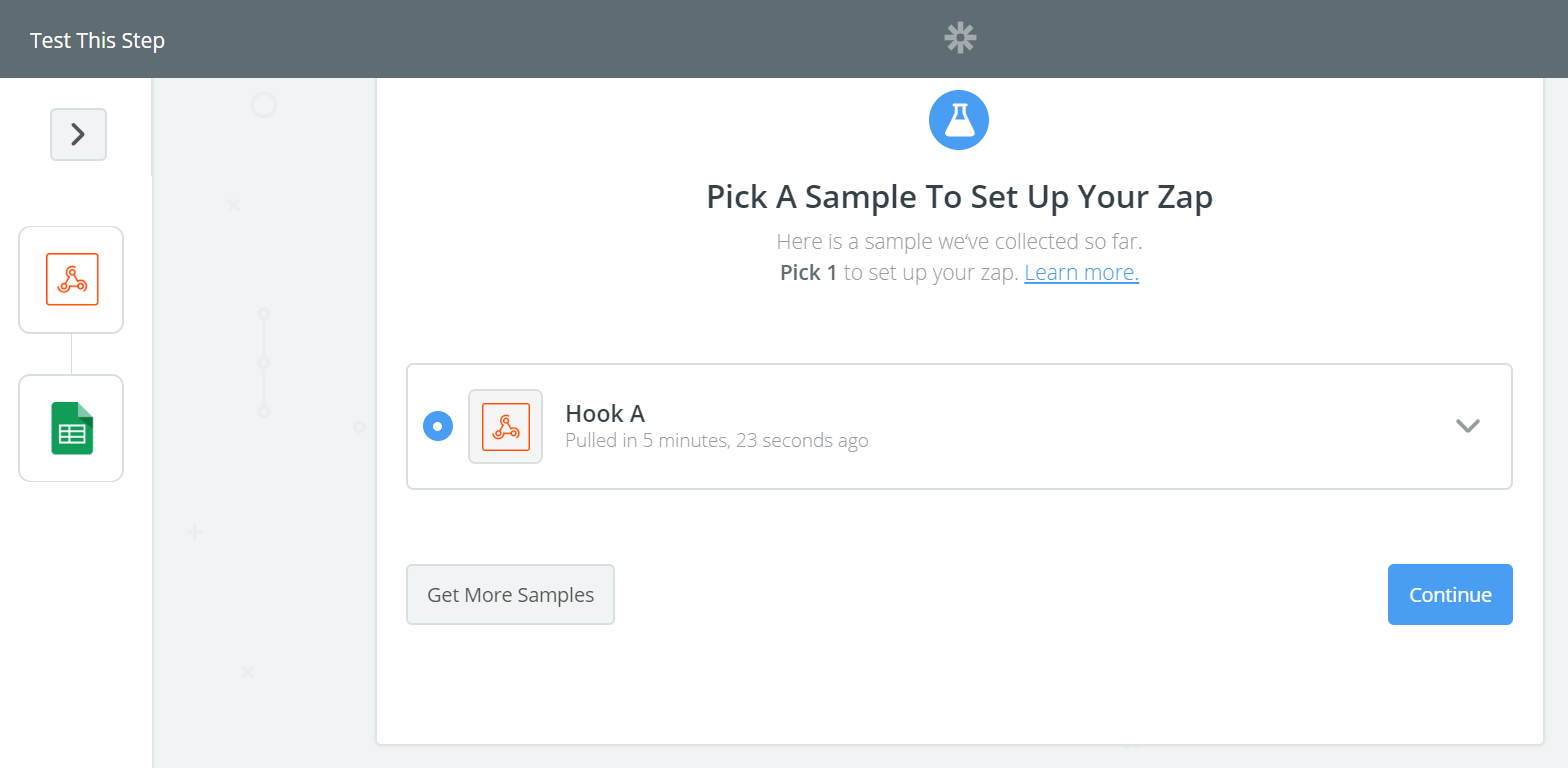
Immediately, press the "Preview" button for loading the form's preview, and press the submit button, this step will pull the fields to Zapier for completing the integration with the external service, in this case Google Sheets.
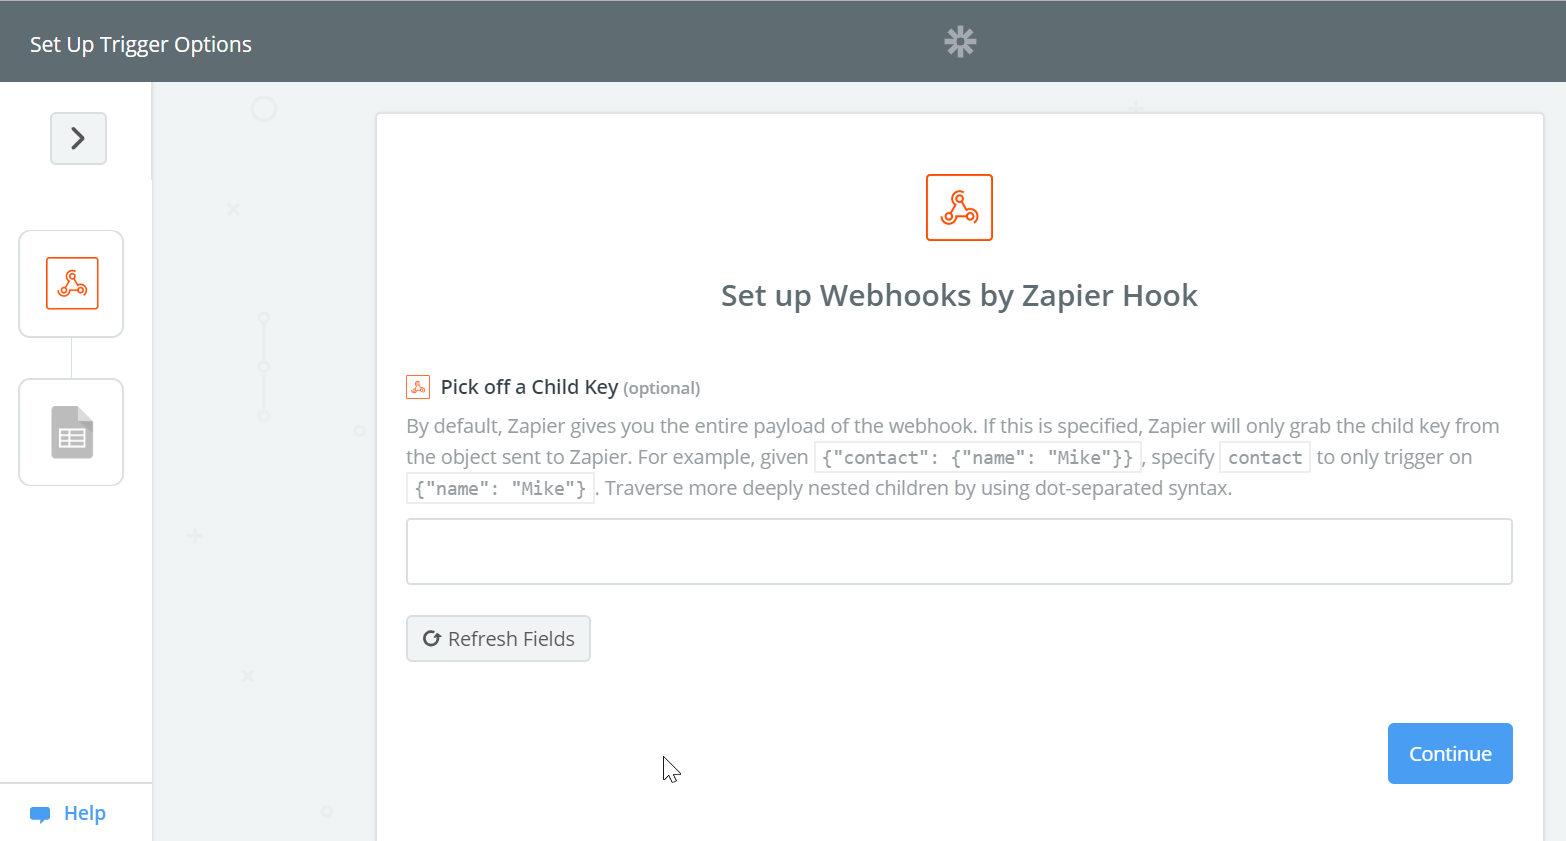
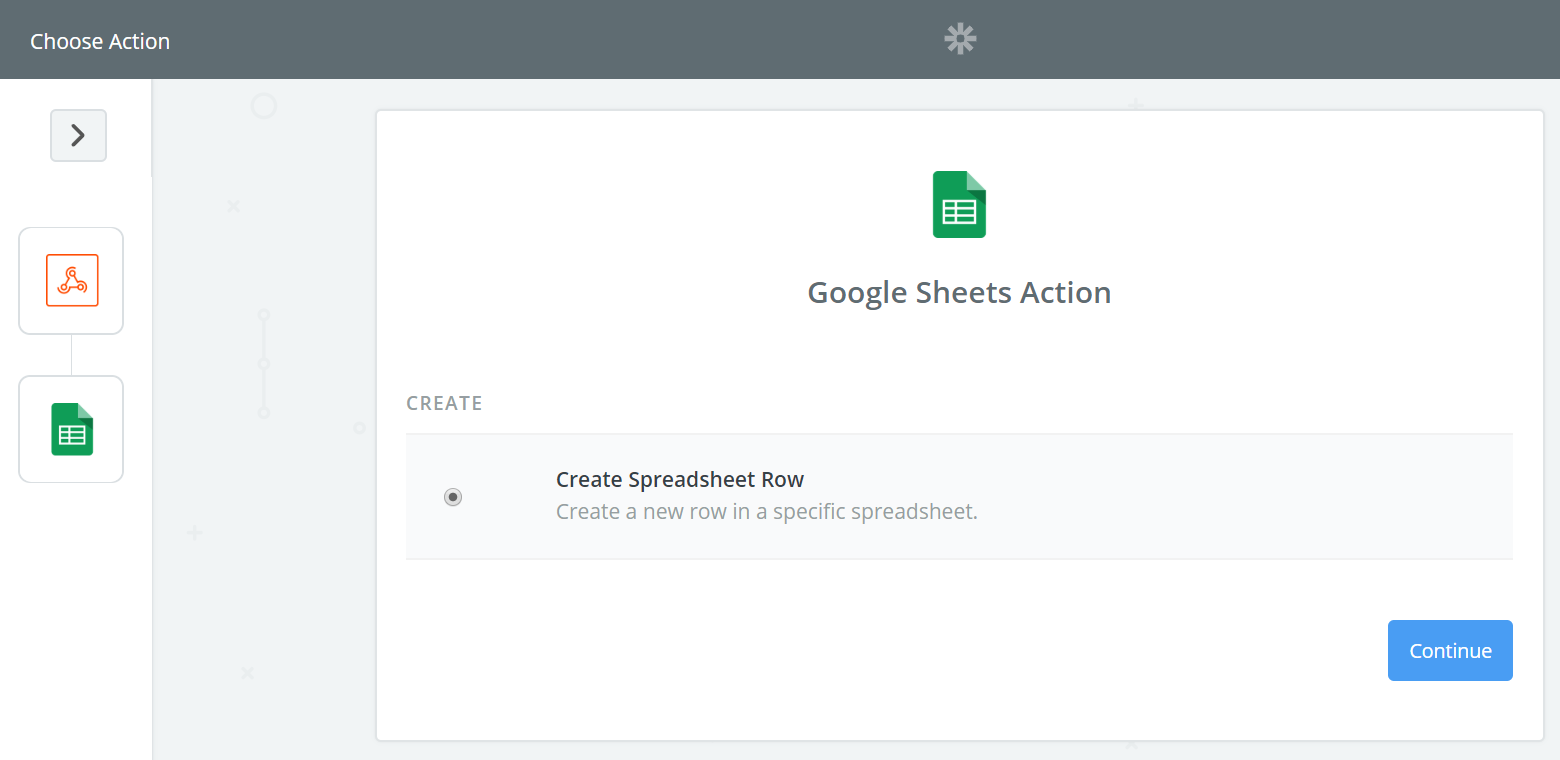
Again in Zapier press the "Continue" button.
Press the "Continue" button.
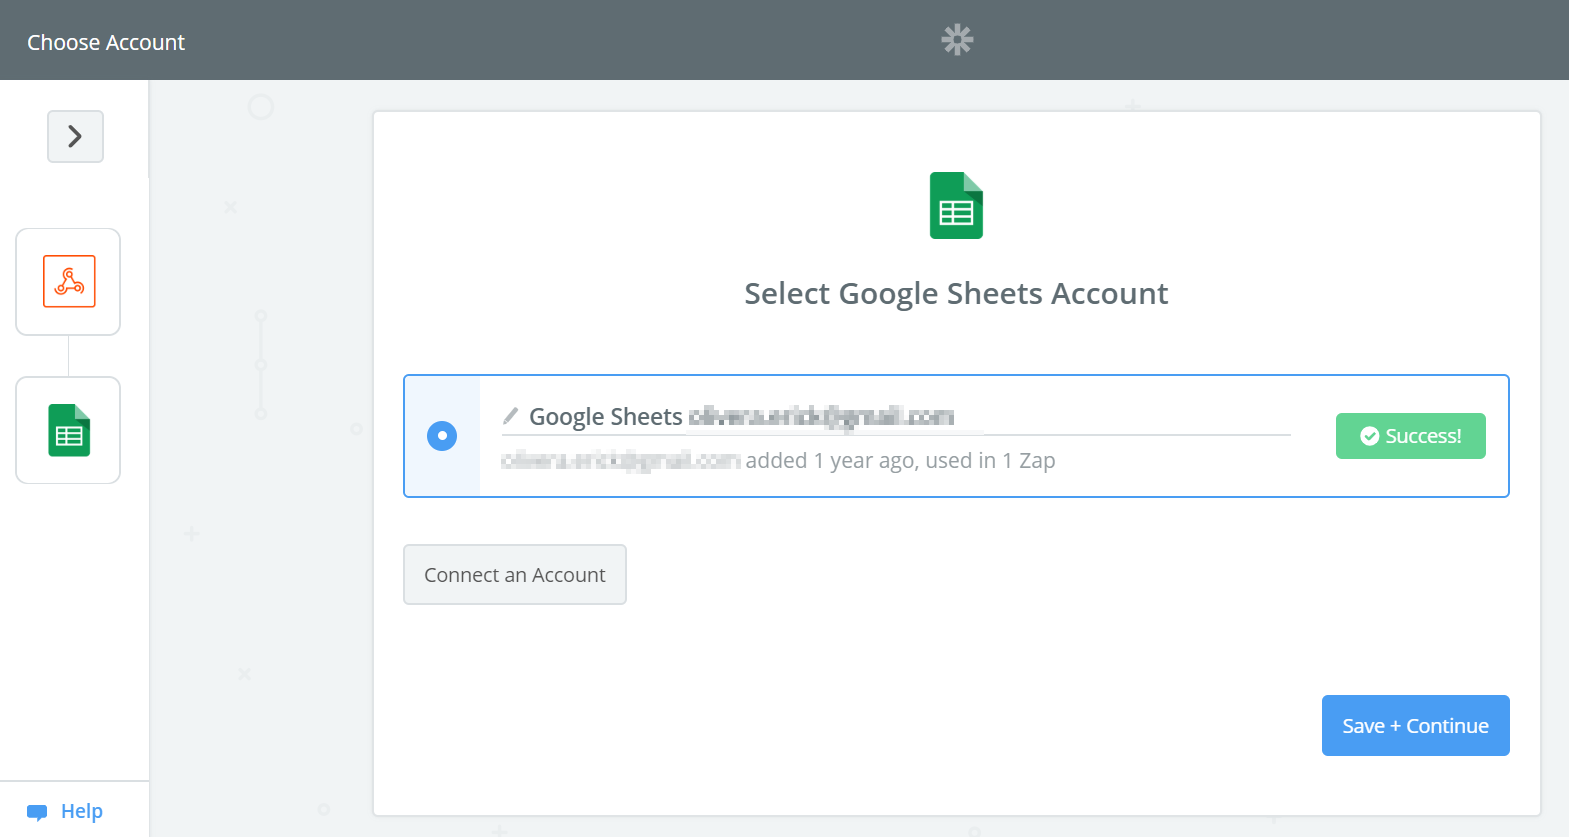
In this step you should connect the Zapier service with the Google account where the Google Sheets document is. After connecting the Zapier and Google, press the "Save + Continue" button.
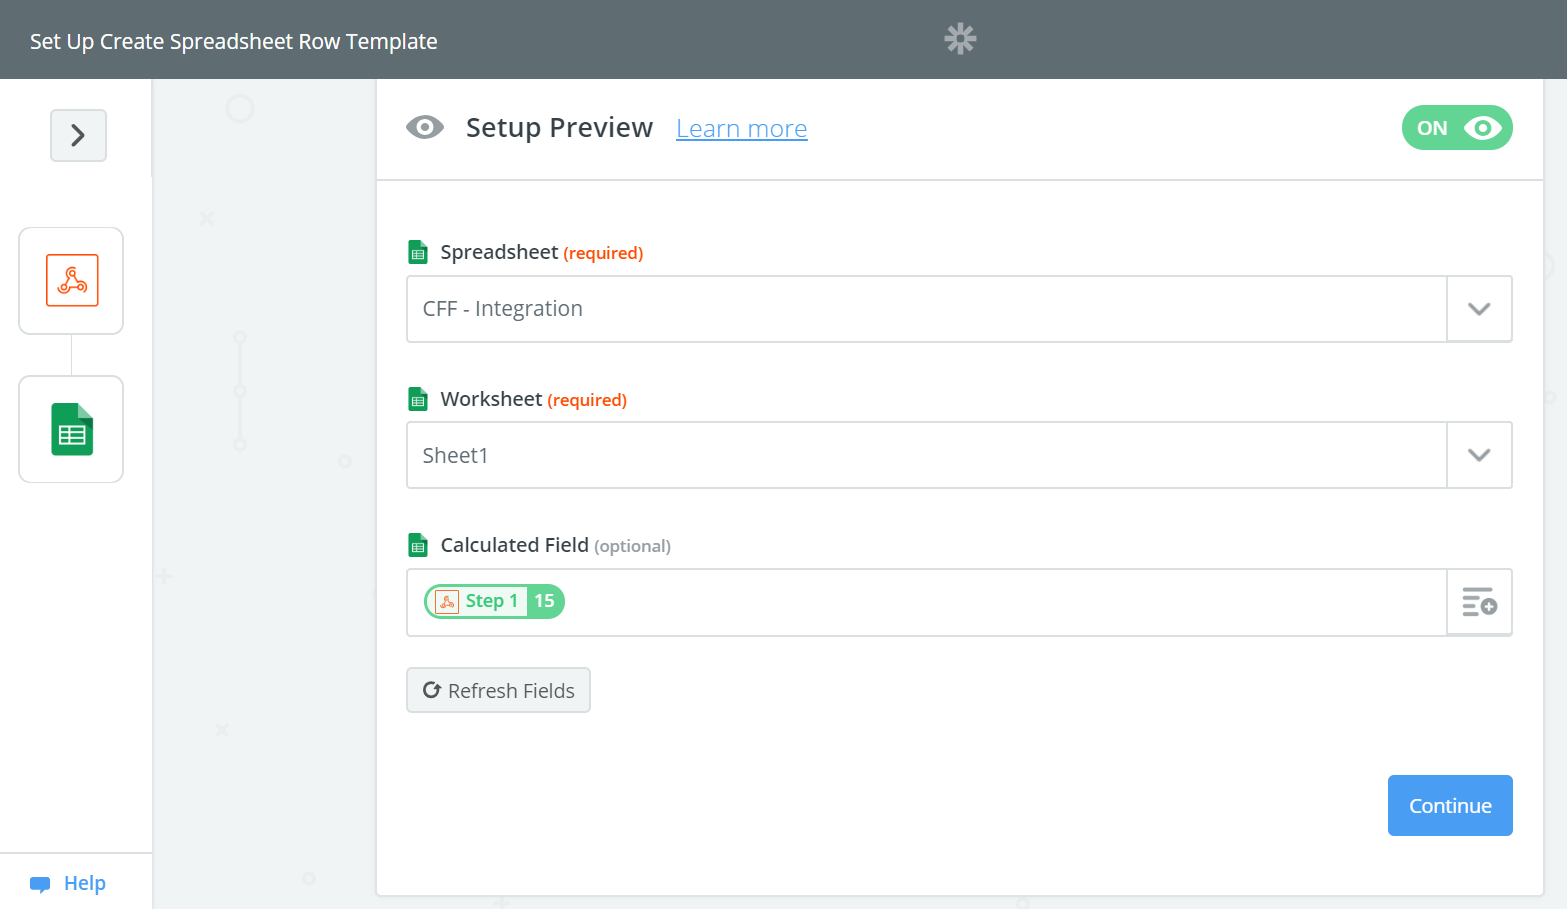
Select the Google Sheets document and the Worksheet in the document, and then select field whose value you want to insert in the document. Press the "Continue" button.
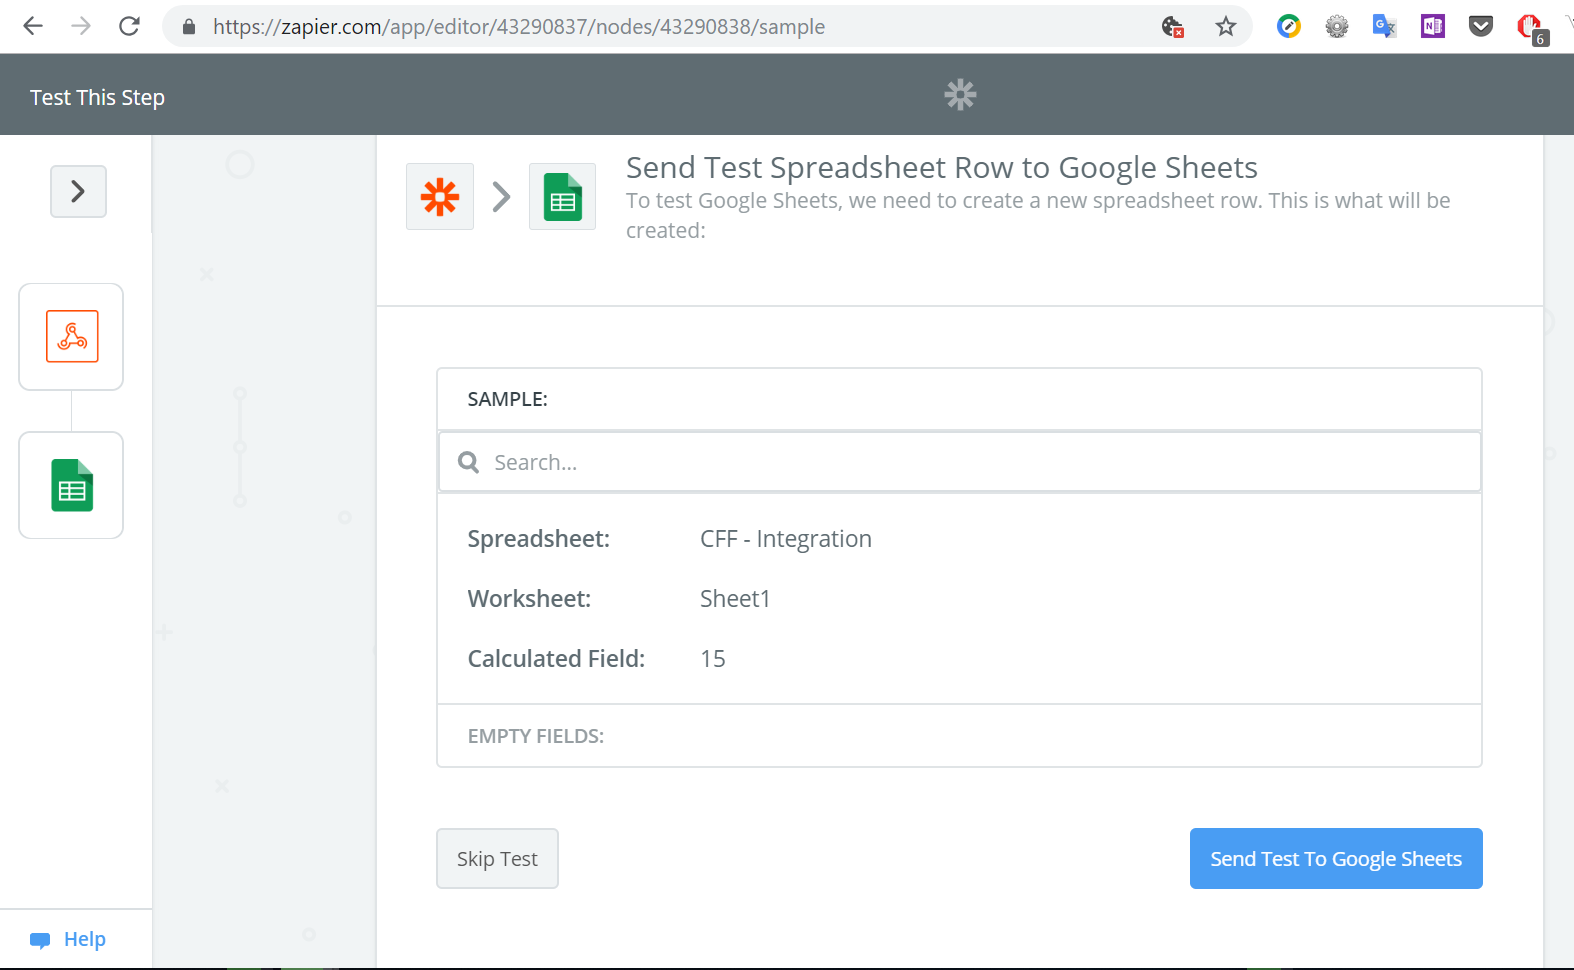
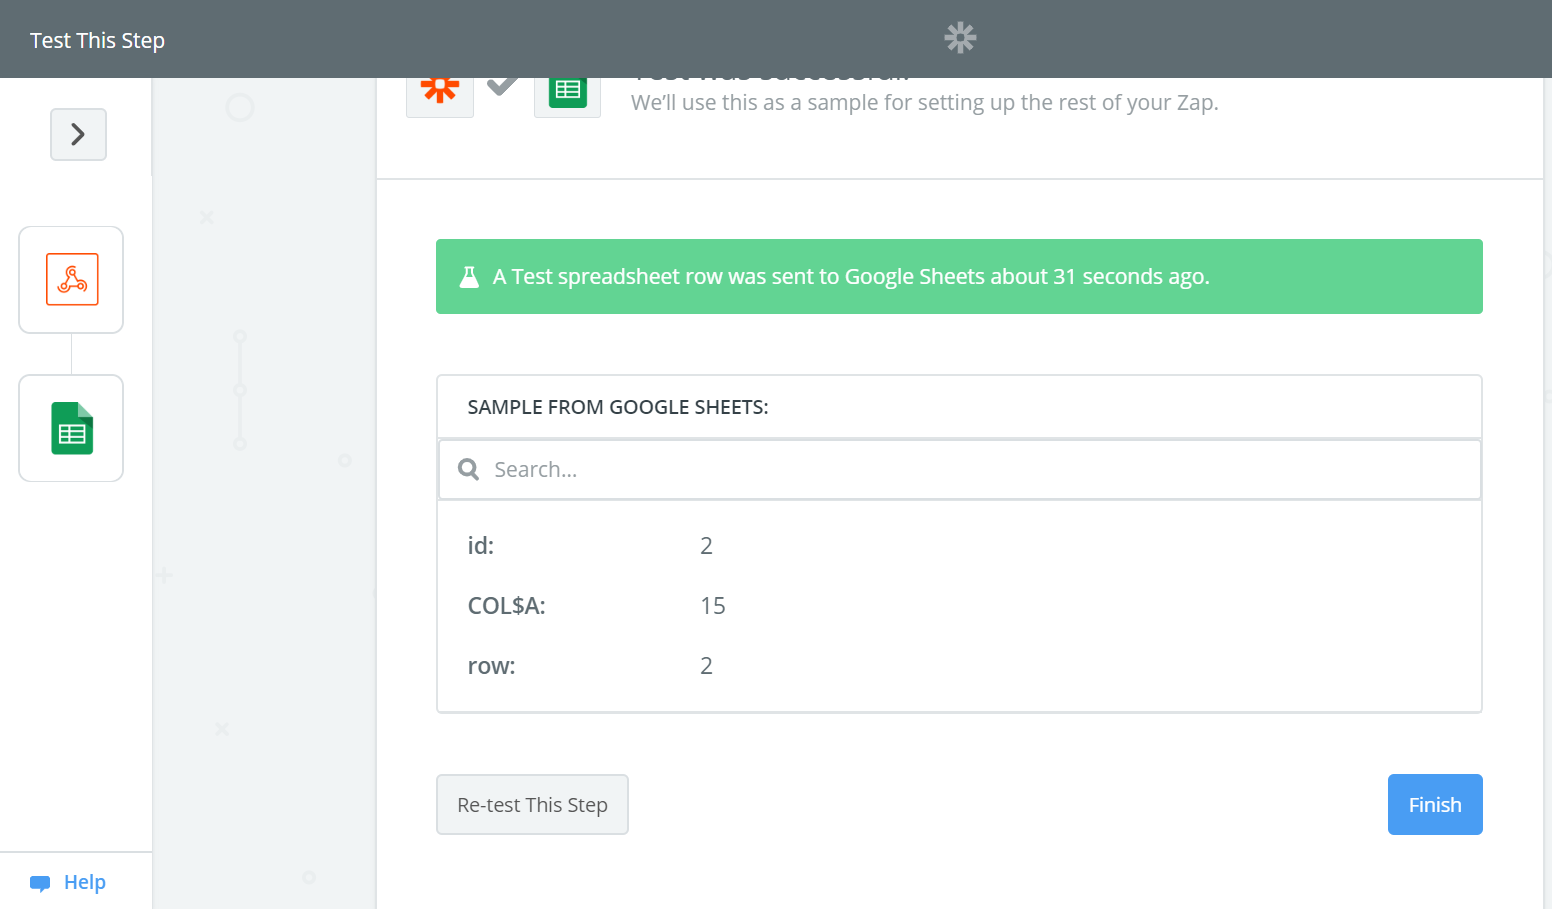
Press the "Send Test To Google Sheets" button, or if you prefer, press the "Skip" button.
Finally, press the "Finish" button.
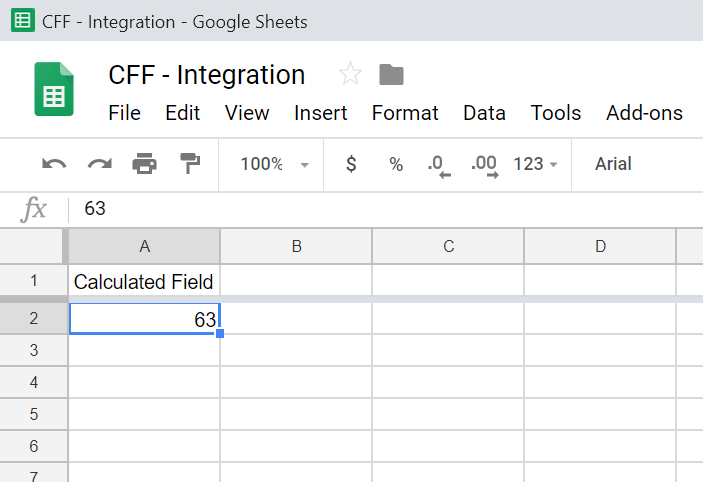
Go to your website and populate the form. I've entered the values 53 and 10, so the equation's result is 63.
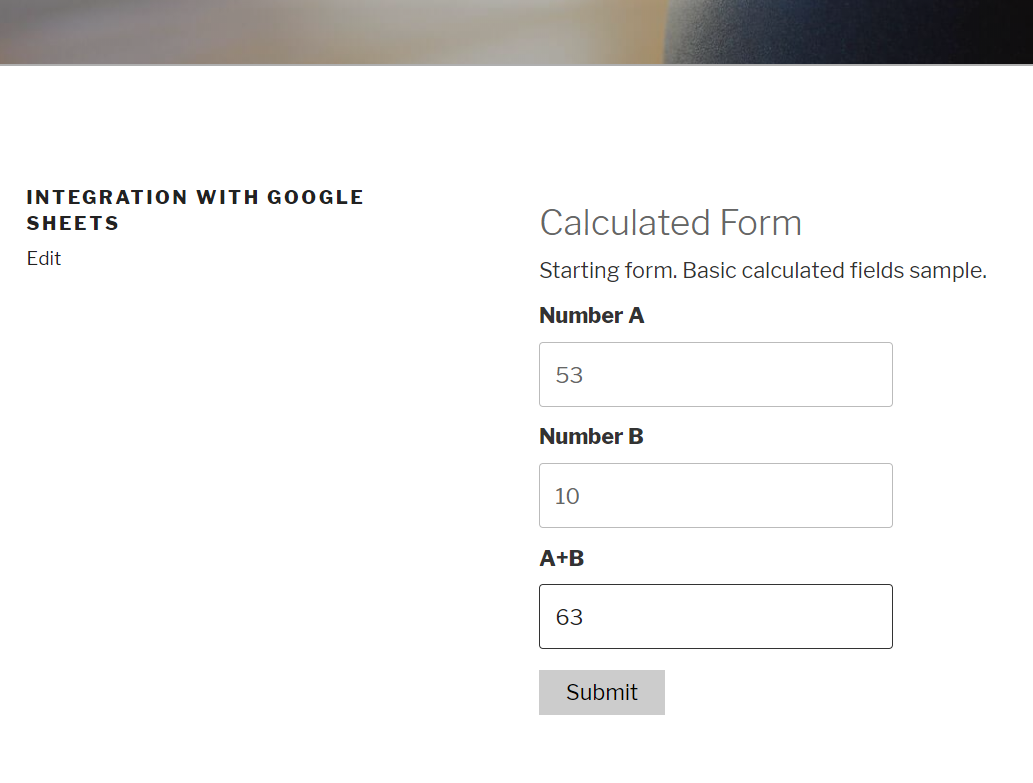
After the form be submitted the calculated field has been entered into the Google Sheets document.