Tips and cases of use for a successful WordPress website with calculated forms.
Categories: Design & Layout, Extending Forms, Form Features
The post describes how to create a new design template and apply it to the forms.
The "Calculated Fields Form" plugin includes multiple predefined templates to use with the forms.
The plugin includes a dropdown list in the "Form Settings" tab to allow you to select the design template to assign the form,
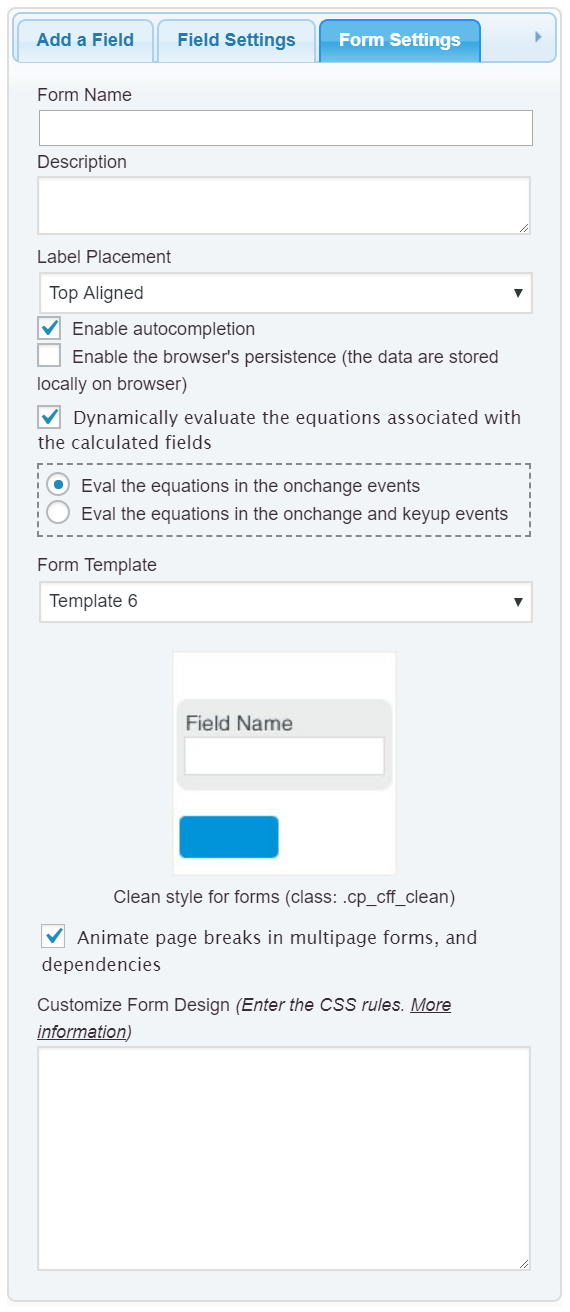
Although the list of predefined templates is varied, you may want a specific design for your website.
You can select one of the predefined templates from the list and redefine its styles through the "Customize Form Design" attribute. The following blog post describes how to do it, Customizing the form's design. However, this solution requires repeating the process with every form on your website.
Another alternative would be to edit the template files directly. The plugin stores the template files in "/wp-content/plugins/calculated-fields-form/templates" directory. It contains a folder for every template. However, there is a problem with this solution. Since WordPress replaces the plugins files with the new ones when installing the plugins updates, you need to edit the template files after every update installation. So this solution is far from ideal.
The preferred solution would be to create the new template into the "/wp-content/uploads/calculated-fields-form/templates" directory. This directory would not be affected by the plugin updates.
How to create a form template?
As I said above, every template requires a folder with its resources (the folder name is irrelevant).
The template must include the "config.ini" file to describe the template and its resources. The structure of the "config.ini" file is:
prefix="cp_cff_custom"
file="style.css"
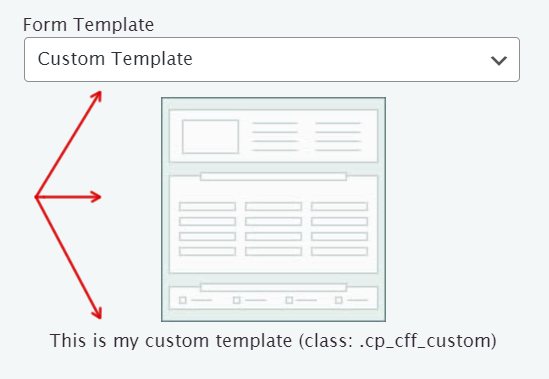
title="Custom Template"
thumbnail="thumbnail.jpg"
description="This is my custom template"
prefix: The class name to apply the form. The class name should be unique for every template on the website (required attribute). Ex. cp_cff_custom
file: Name of the CSS file with the template styles. You must store the .css file in the template folder. Ex. styles.css
js: Name of the JS file with the javascript code if it is needed.
title: Text that allows you to identify the template from the list of templates in the "Form Settings" tab. Ex. Custom Template
thumbnail: Name of image file, displayed when the template is selected (Store the image file in the template directory).
description: Template description.
To explain the process with an example. Assuming you want to apply the forms' titles the style rule font-size:1.5em, create a .css file into the template's directory, with the style definition:
.cp_cff_custom #fbuilder .fform h1{font-size:1.5em;}
.cp_cff_custom is the prefix entered in the config.ini file.
You can find more information about the fields components and the form's design by reading the following blog post, Customizing the form's design.
