Tips and cases of use for a successful WordPress website with calculated forms.
Categories: Add-ons, Automation, API & Services Integration, User Communications
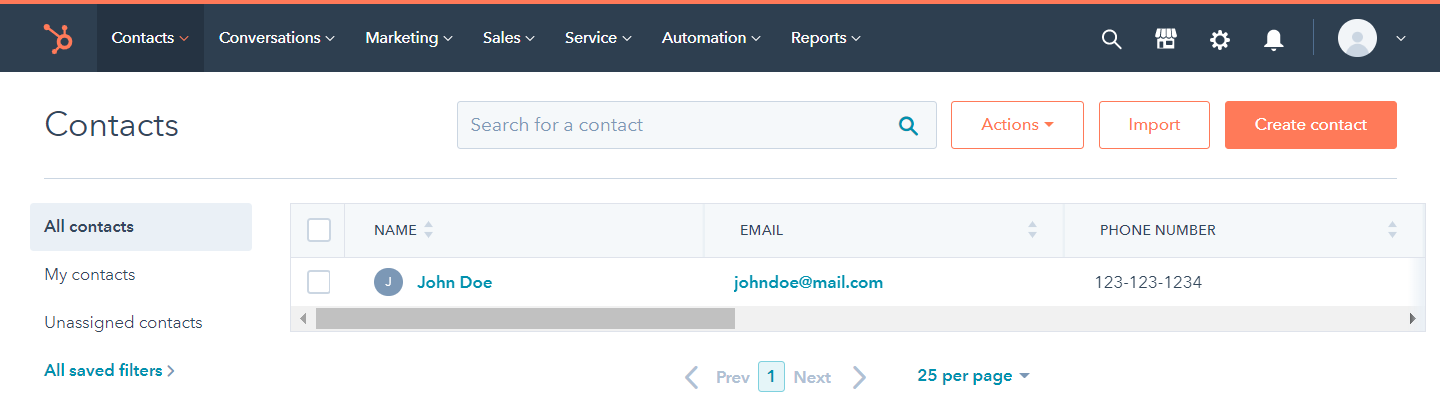
HubSpot is define itself as a marketing, sales, and service software that helps your business grow without compromise. The CFF - HubSpot add-on allows to integrate the forms on website with the HubSpot service, to create/update contacts in HubSpot with the information collected by the forms.
There are multiple services in the market for managing the relation with customers, the sales and services. In other posts we have talked about MailChimp, SalesForce and other services. This time is HubSpot who capture our attention.
HubSpot is define itself as a marketing, sales, and service software that helps your business grow without compromise. Between its multiples advantages are: To include a marketing automation process that brings all the important elements of the strategy into a single place - Its user interface is simple and easy to use - It includes a built-in CMS - Implements intelligent email workflows, stores and organizes the customers and leads information.
For the advantages described above and the popularity of HubSpot, we've decided to implement an add-on that allows integrate the forms on personal and company websites with HubSpot accounts, to create and update the contacts' information, tickets, and notes with the data collected by the forms.
The "CFF - HubSpot" add-on is distributed with the Platinum version of the "Calculated Fields Form" plugin. It uses the information collected by the website's forms to create or update contacts' information for customers or leads in HubSpot accounts. You can also create HubSpot tickets associated with contacts. The rest of the post will focus on activating and configuring the add-on:
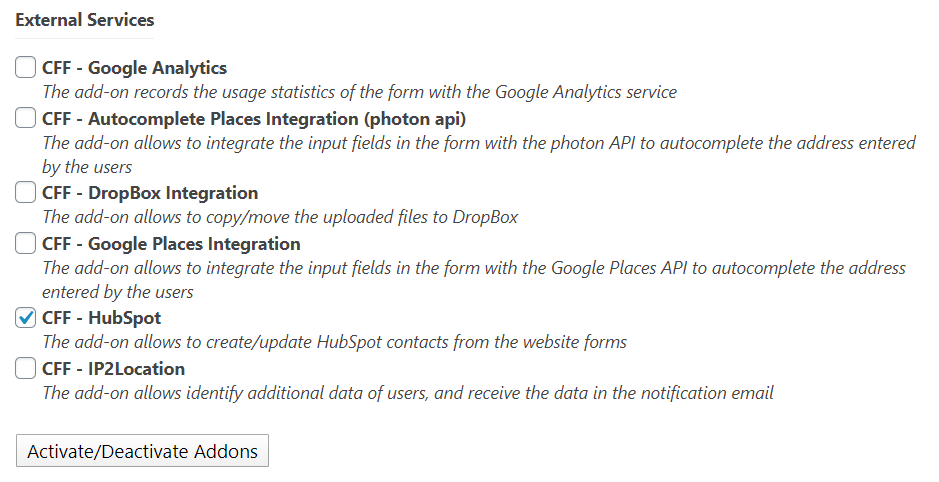
The first step in the process would be activate the add-on:
Once the add-on be activated would be included a new section in the form's settings, to configure the integration between the website's form and the HubSpot account.
Please, press the "Settings" button corresponding to the form.
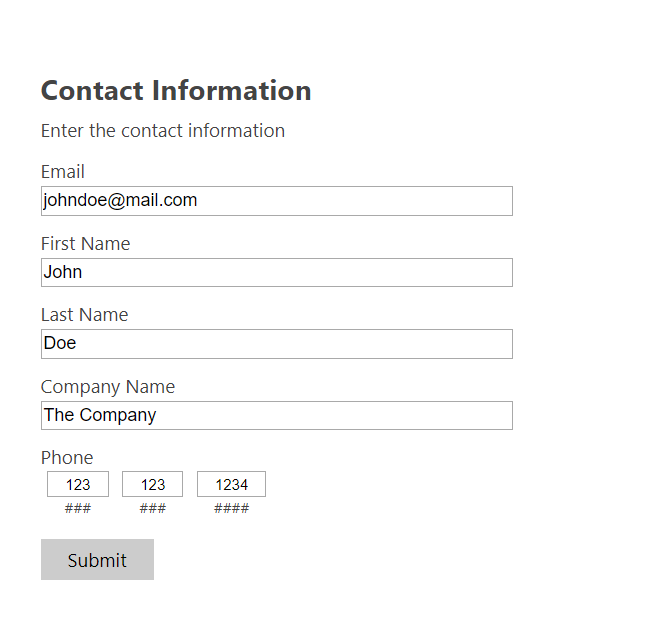
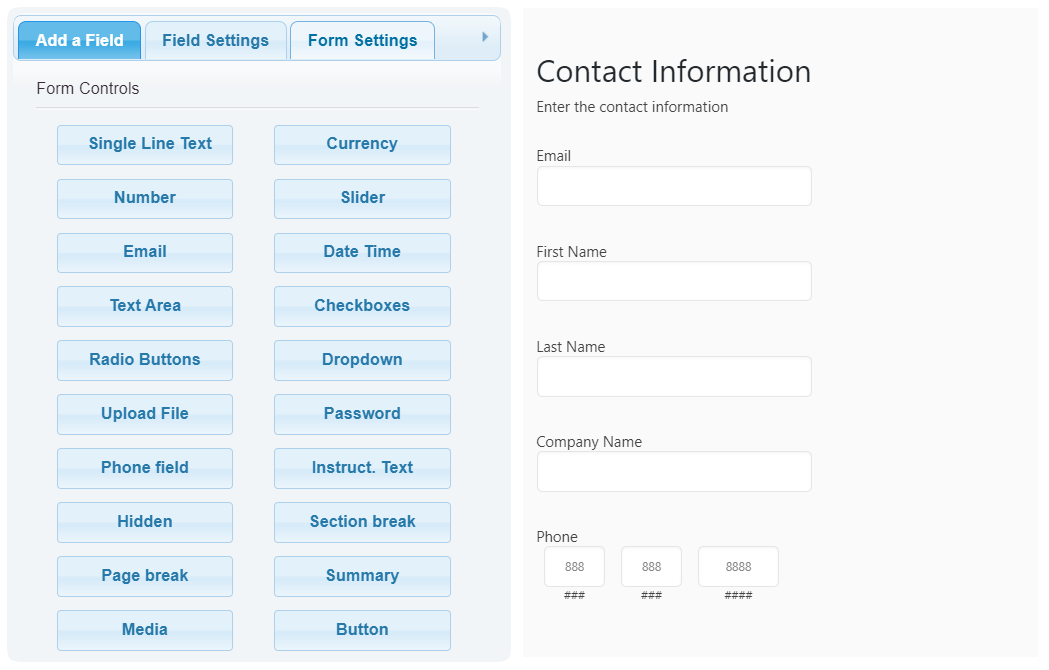
To describe the process, I've created a form with some basic fields: fieldname1 for the email, fieldname2 and * fieldname3* for the first and last name respectively, fieldname4 for the user's company, and the fieldname5 for entering his phone number.
In the form's settings there is a "HubSpot" section:
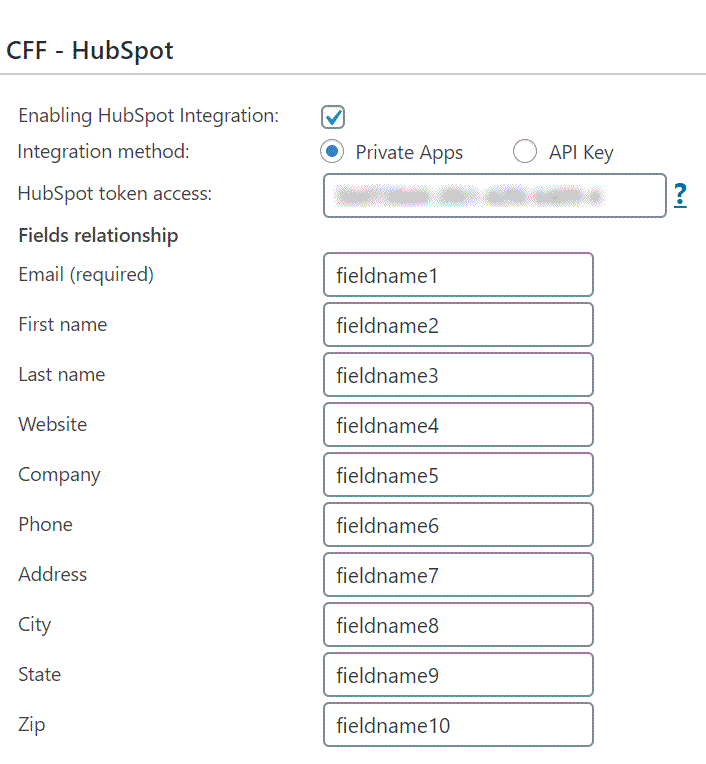
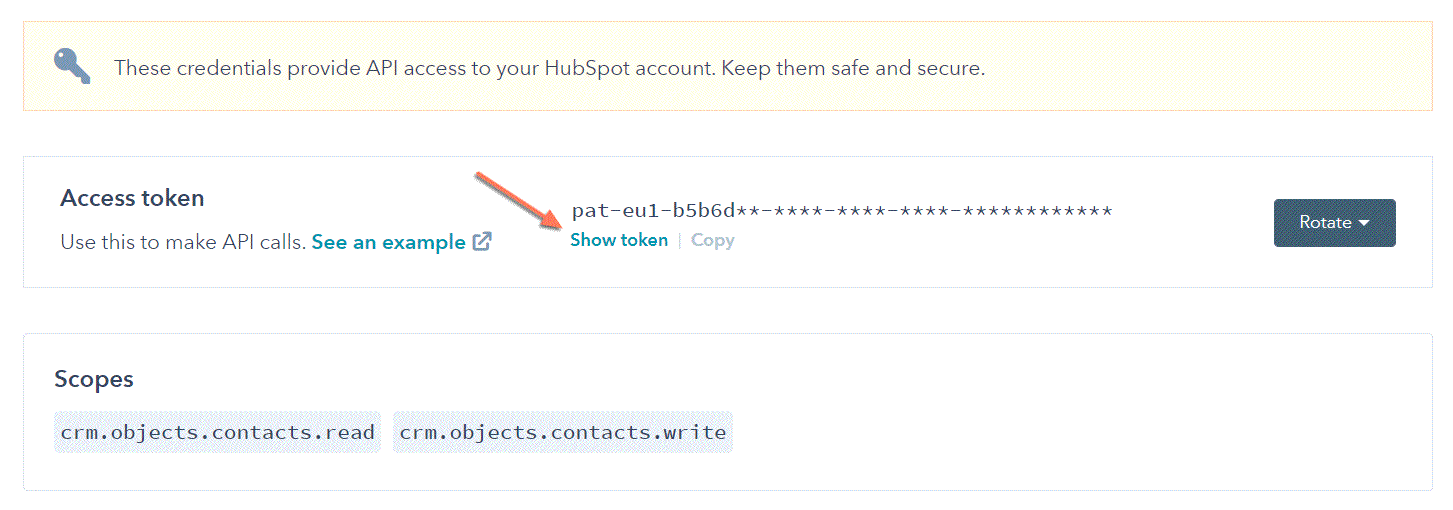
To enable the relationship between the form and HubSpot, tick the "Enabling HubSpot Integration" checkbox and enter the Access Token for the HubSpot Private App.
Furthermore, should be entered the fields names, into the corresponding HubSpot properties (the previous screenshot includes the names of fields in the demo form)
In addition to contacts, the HubSpot add-on allows you to create HubSpot tickets. To create a ticket, check the "Create HubSpot ticket" box. If you want to associate the new ticket with HubSpot contacts, check the "Associate tickets with existing contacts whenever possible" option. You should also enter pairs of ticket properties (their internal names, not their labels) and the corresponding form fields. Enter as many pairs as there are ticket properties.
In the HubSpot properties/form fields relationship, you can enter the field names directly (e.g., fieldname1) or the fields and informative tags supported by notification emails (e.g., <%fieldname1_value%>).